Mixing It Up
Erin Morgan our Transfer Specialist, shares the secrets behind making a mixed media design that commands a premium price.
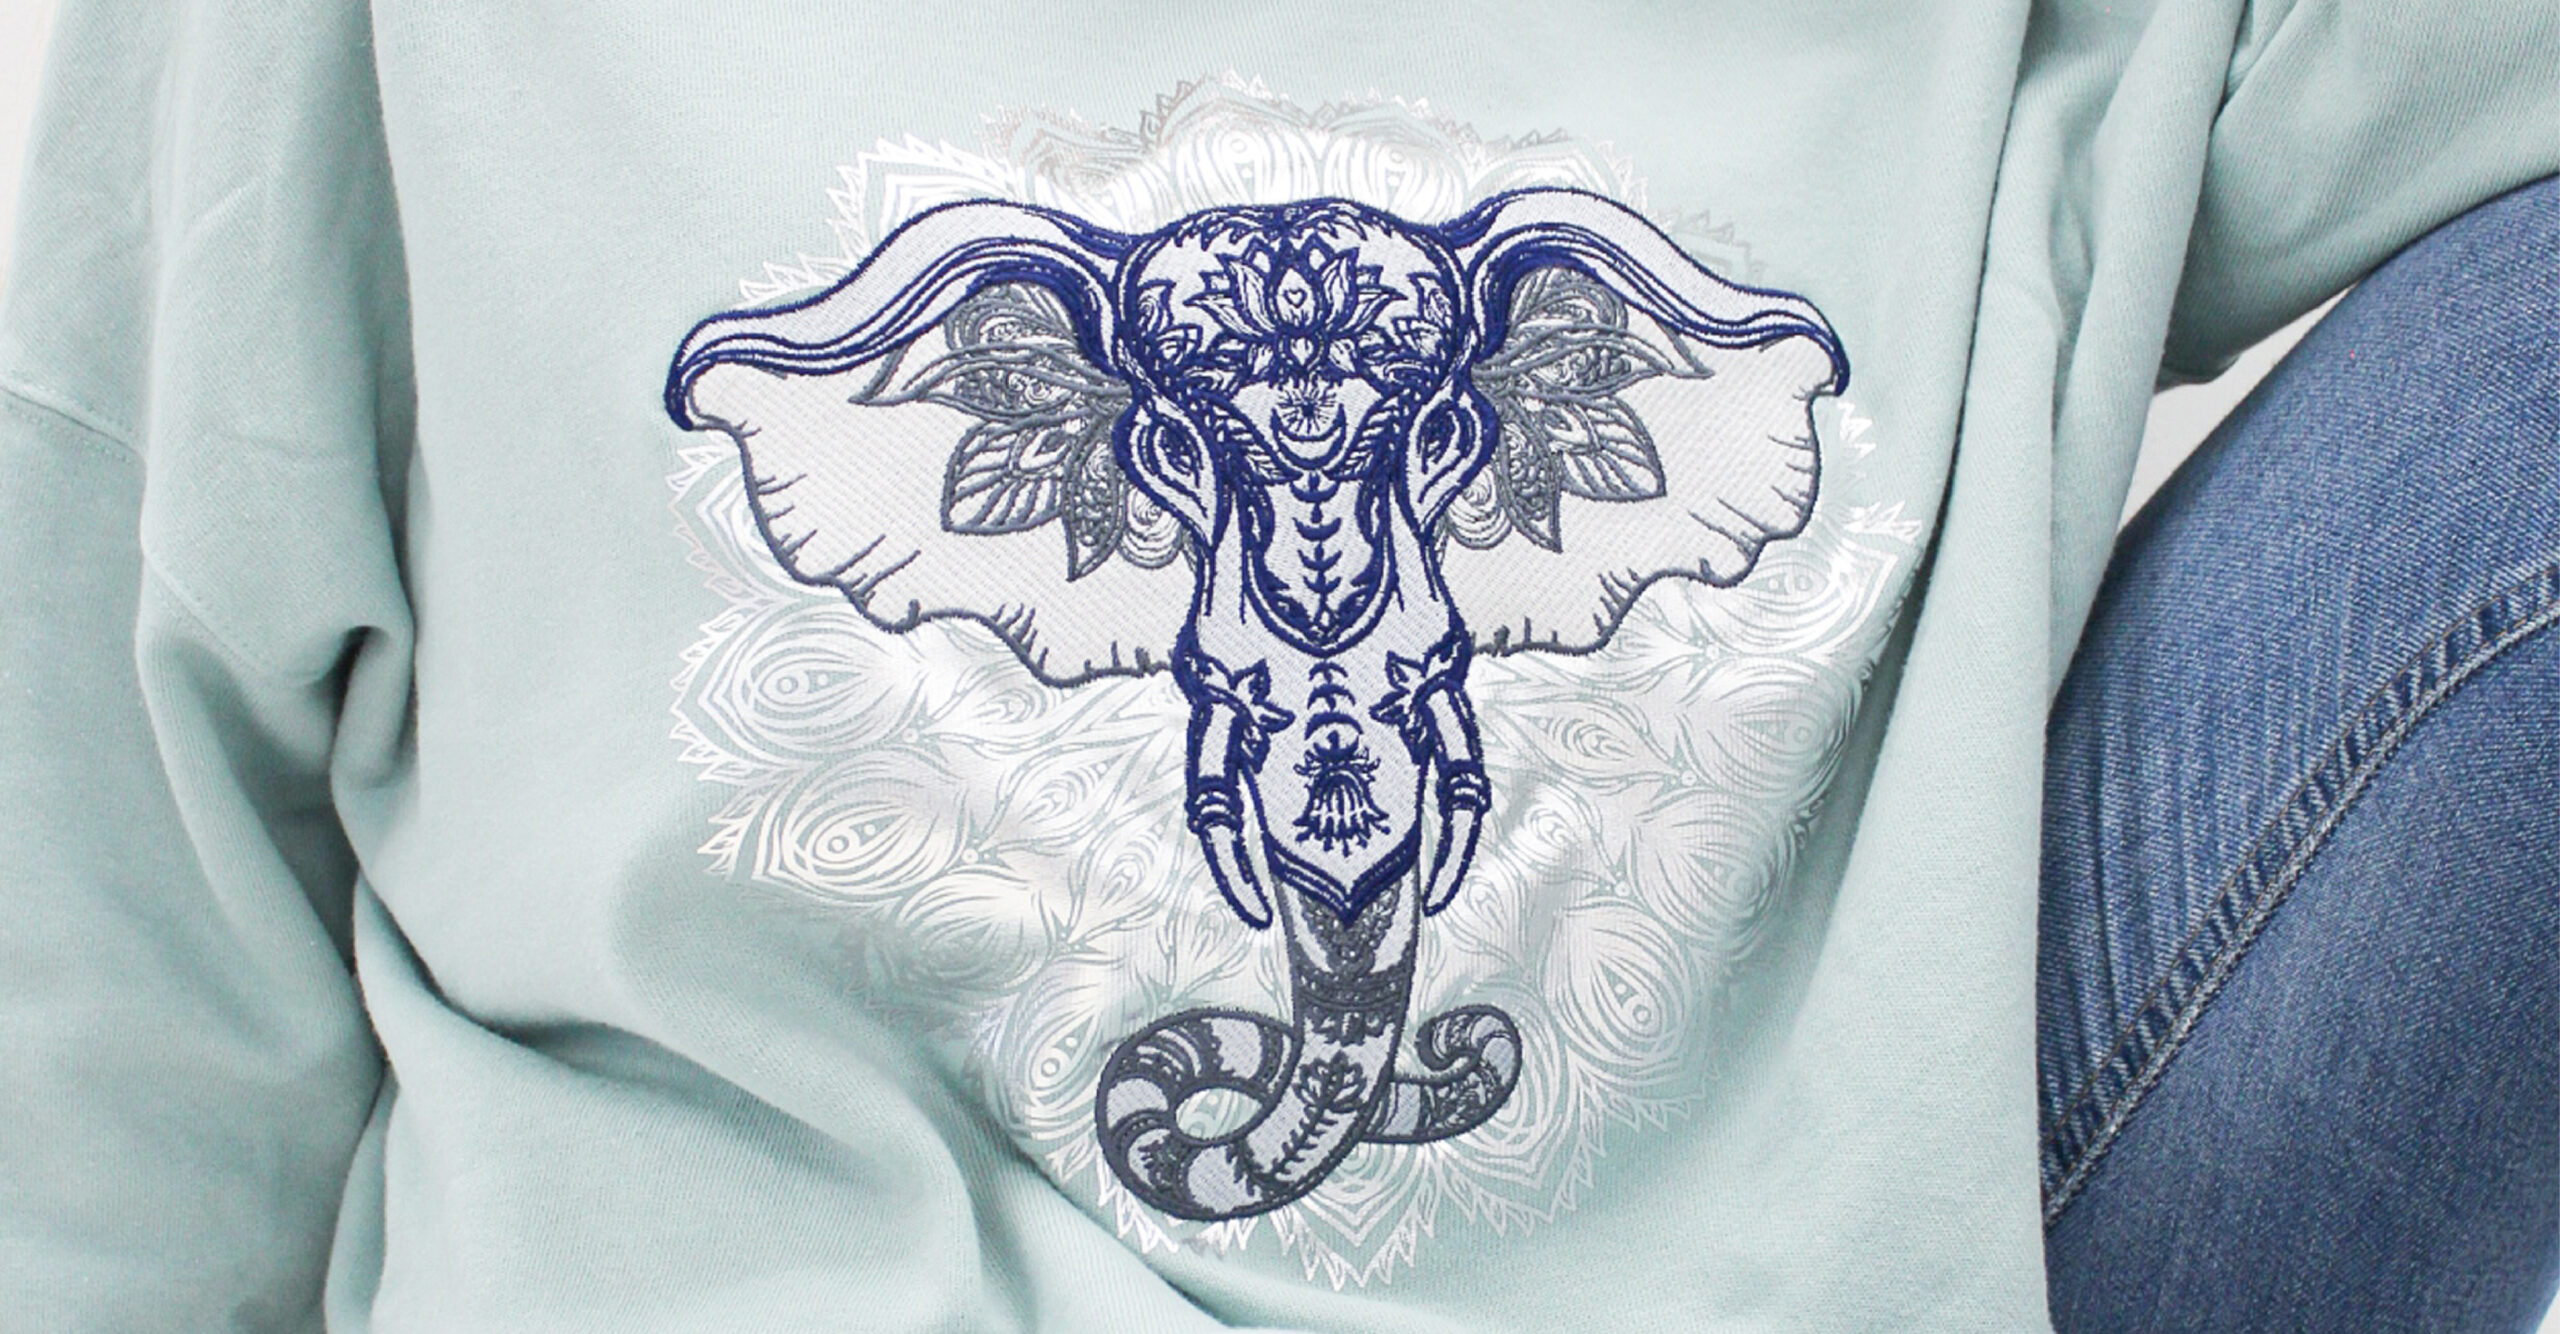
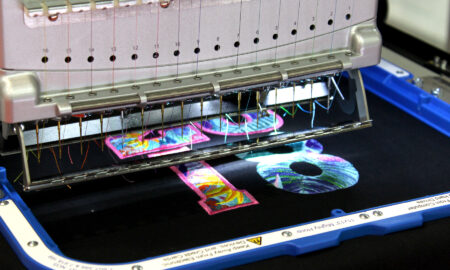
This step-by-step features a combination of Forever Flex Soft Transfer Paper and Embroidery.
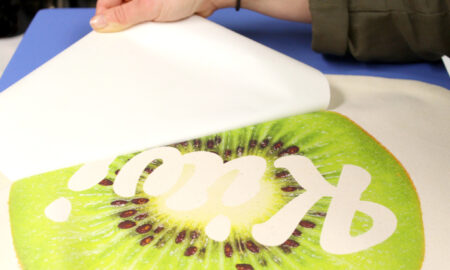
Flex Soft is a unique product that allows users to create one-off, intricate designs that would be impossible to weed. All you need to do is print the image in black on the transparent A-Foil, and then heat press it together with the B-Paper. The B-Paper only sticks to where there is toner on the A-Foil, creating a transfer that is ready to be applied to a garment.
This, combined with embroidery, gives you a unique, ‘one of a kind’ product that can command a premium price at point of sale, whether retail or online.
I think everyone will agree that each garment decorating process has its limitations, but by combining different processes and creating a mixed media product, you have endless possibilities for design. This is why at Amaya, we love to suggest it to our customers.
From an artistic point of view, mixed media methods such as this allow decorators to create more depth and texture in their designs.
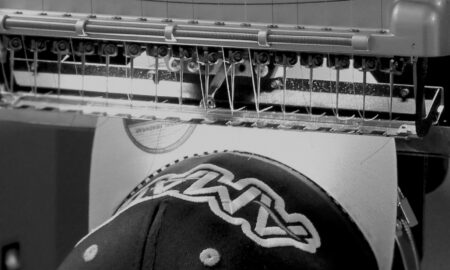
Using embroidery and transfer as we have, you can create an almost 3D effect on products.
Step-by-Step: Mixed Media Design using Transfer Printing & Embroidery
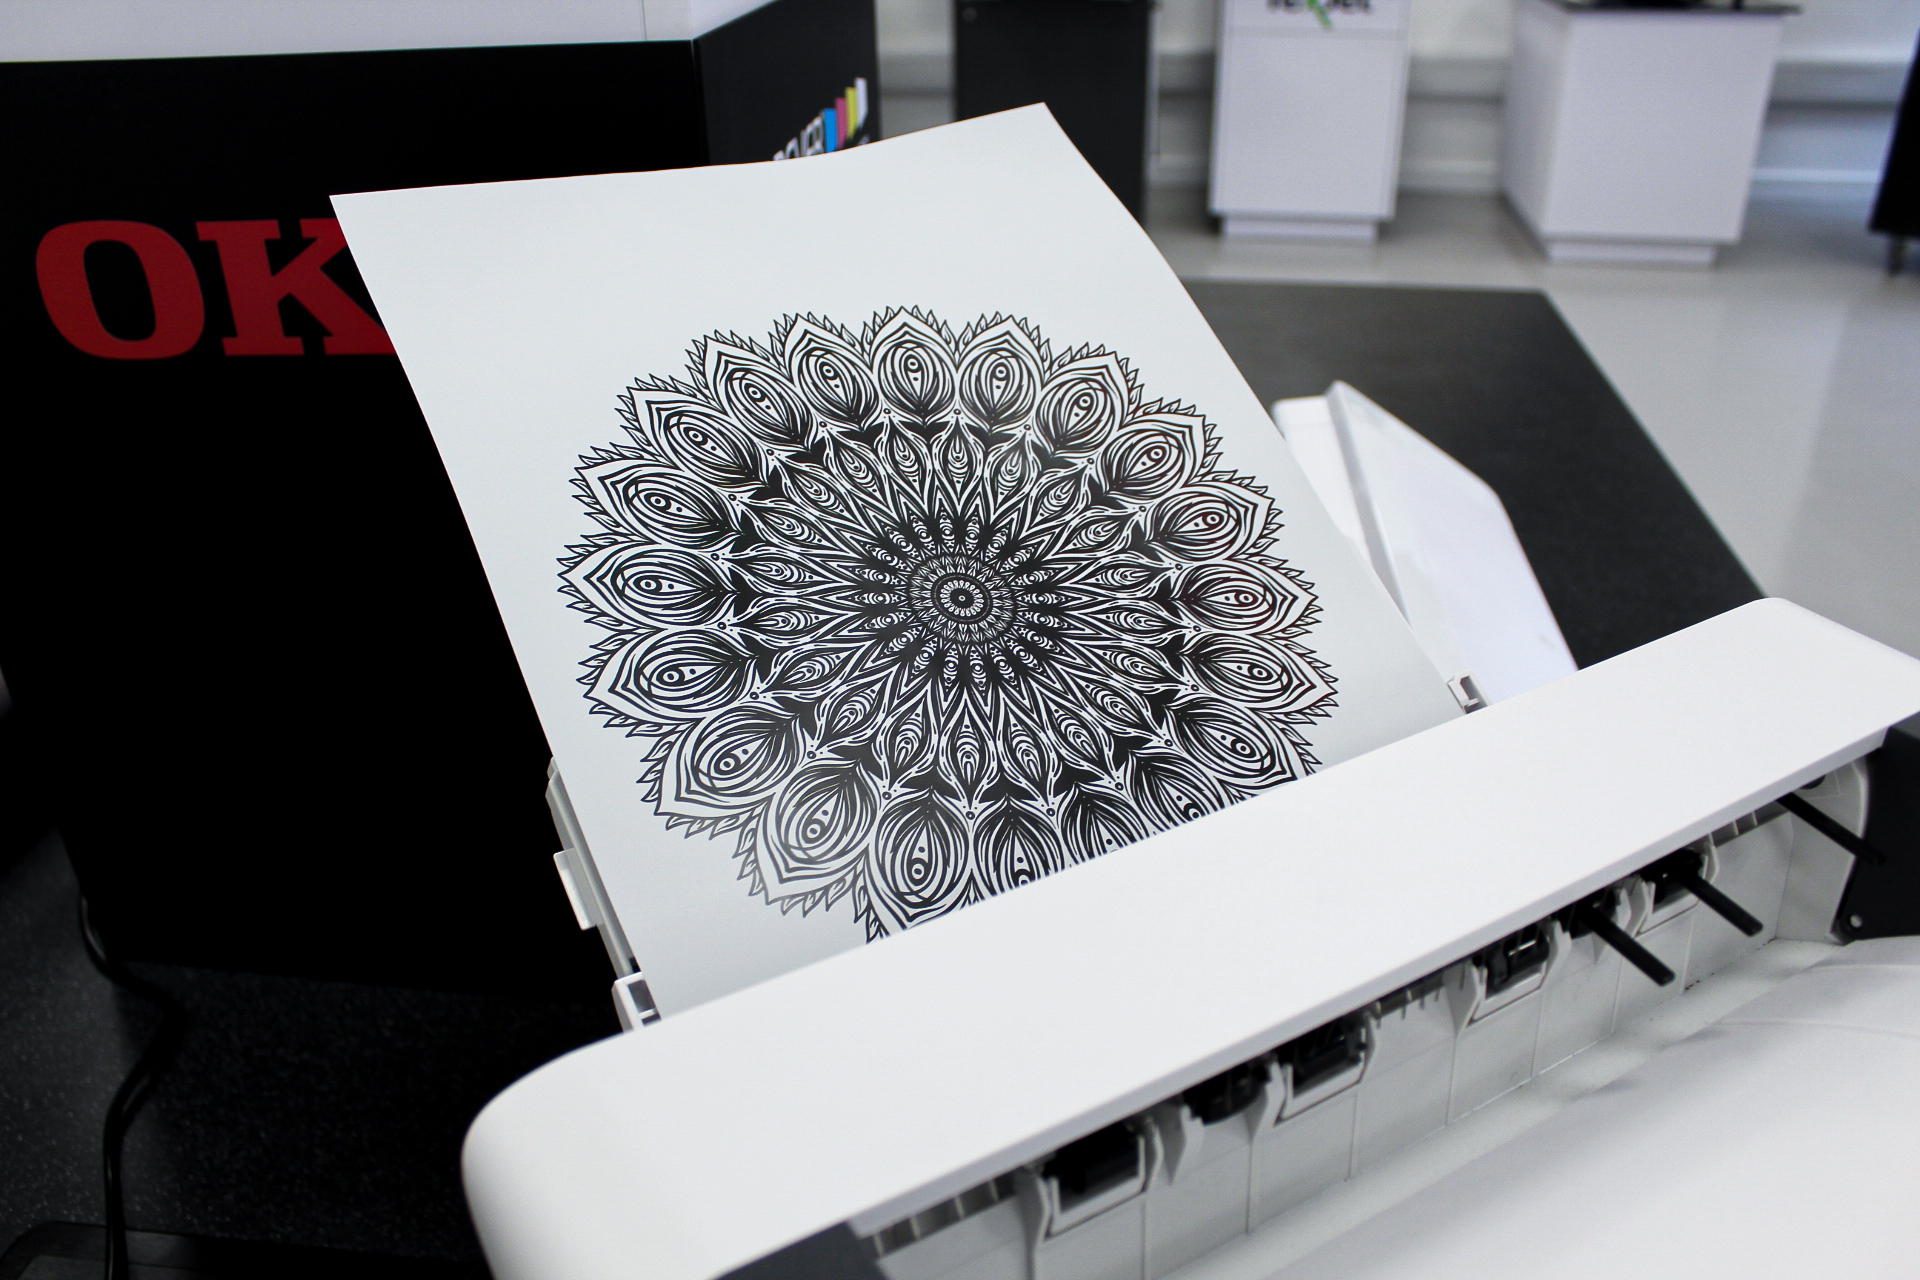
(1) We printed the design on the OKI Pro8432WT White Toner Printer using the Forever Flex Soft (No-Cut) Metallic Silver Transfer paper. This could also have been printed on either a CMYK or black laser printer.
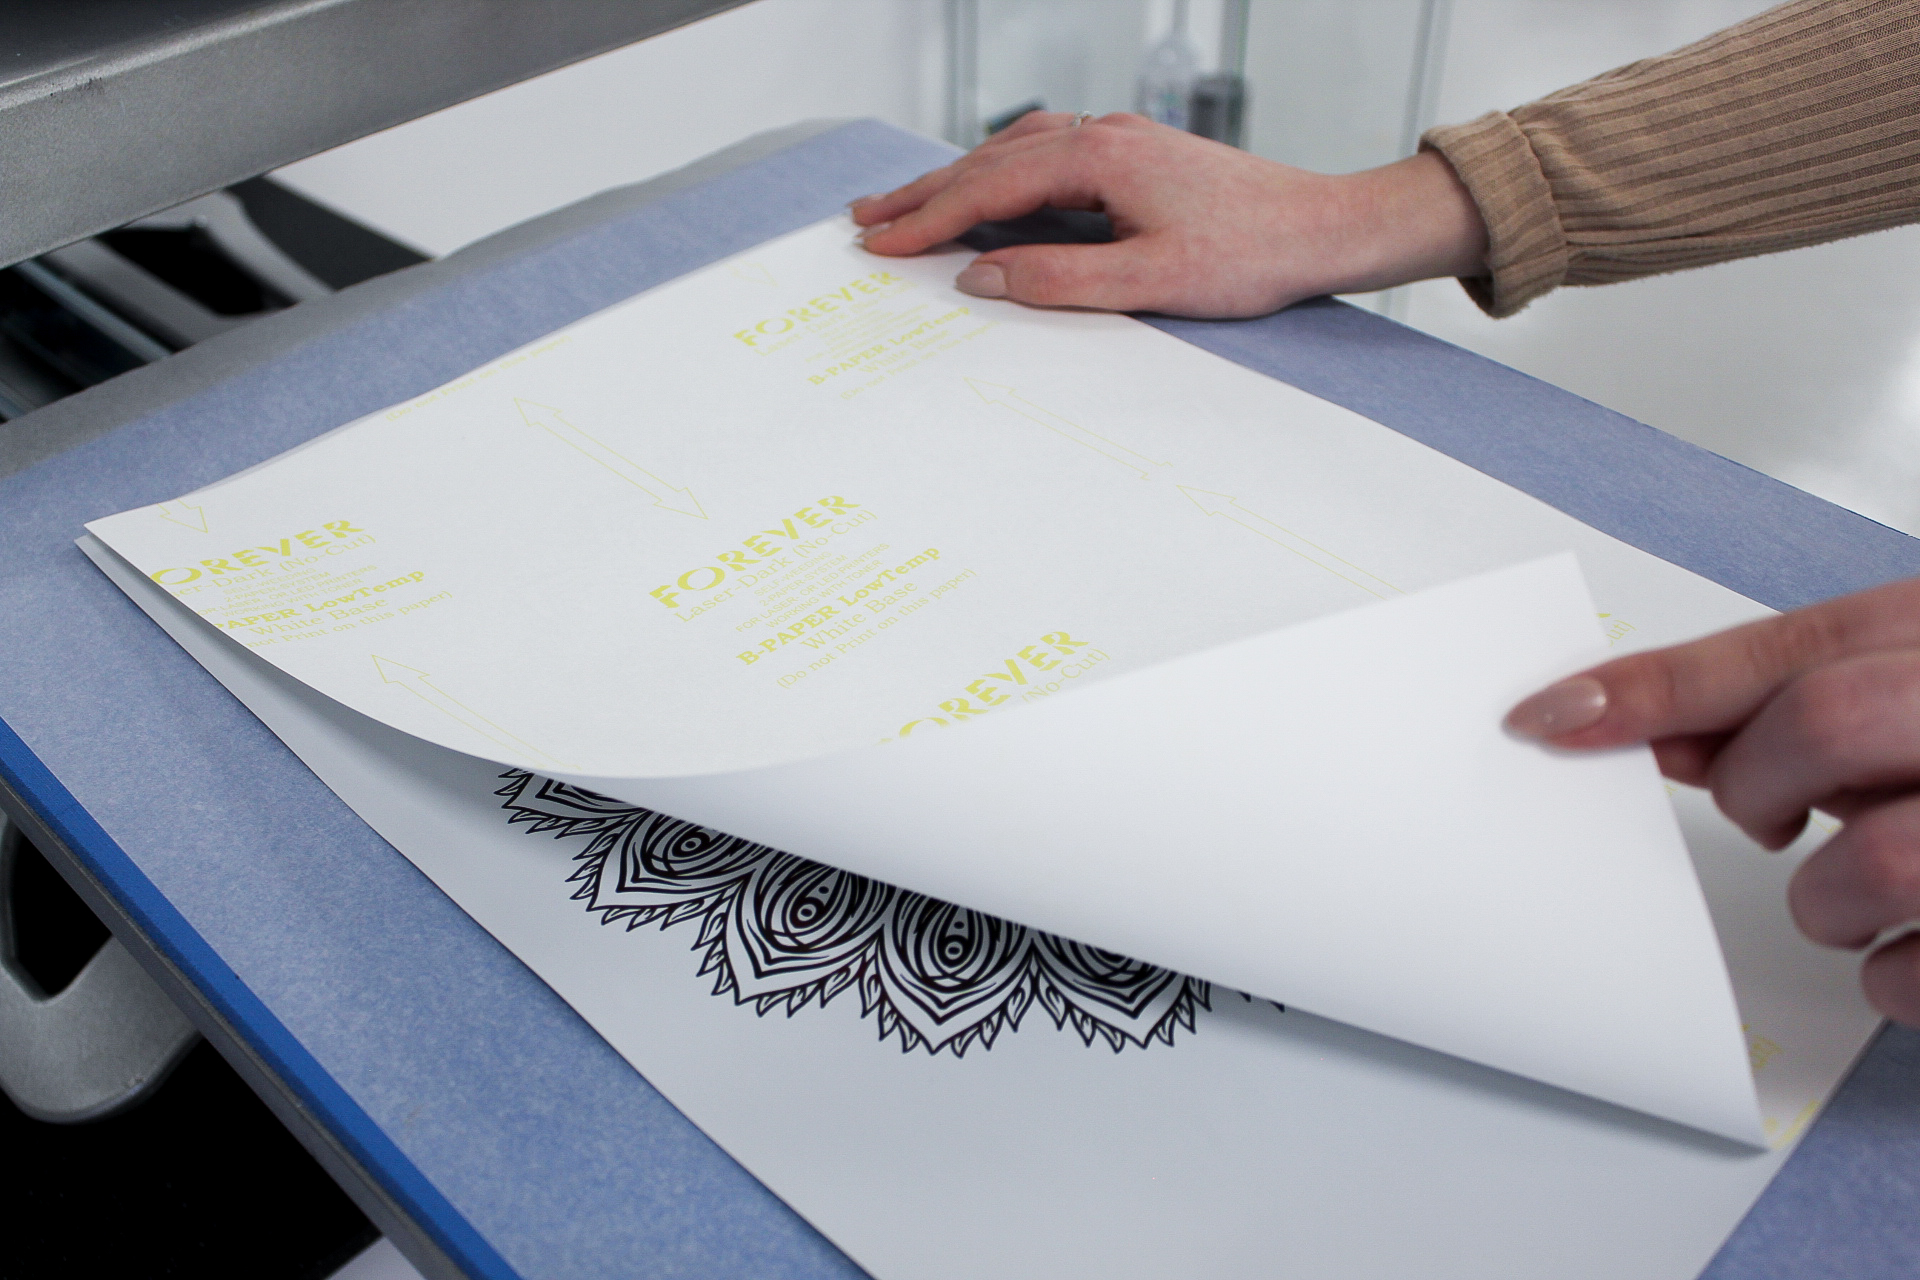
(2) Heat press the Forever Flex Soft A-Foil and B-Paper together at 135°C for two minutes to create the transfer. The B-Paper (glue) will adhere to where the toner has been printed on the A-Foil. A quality heat press is needed to achieve the very best results; we used the Hotronix Fusion IQ press.
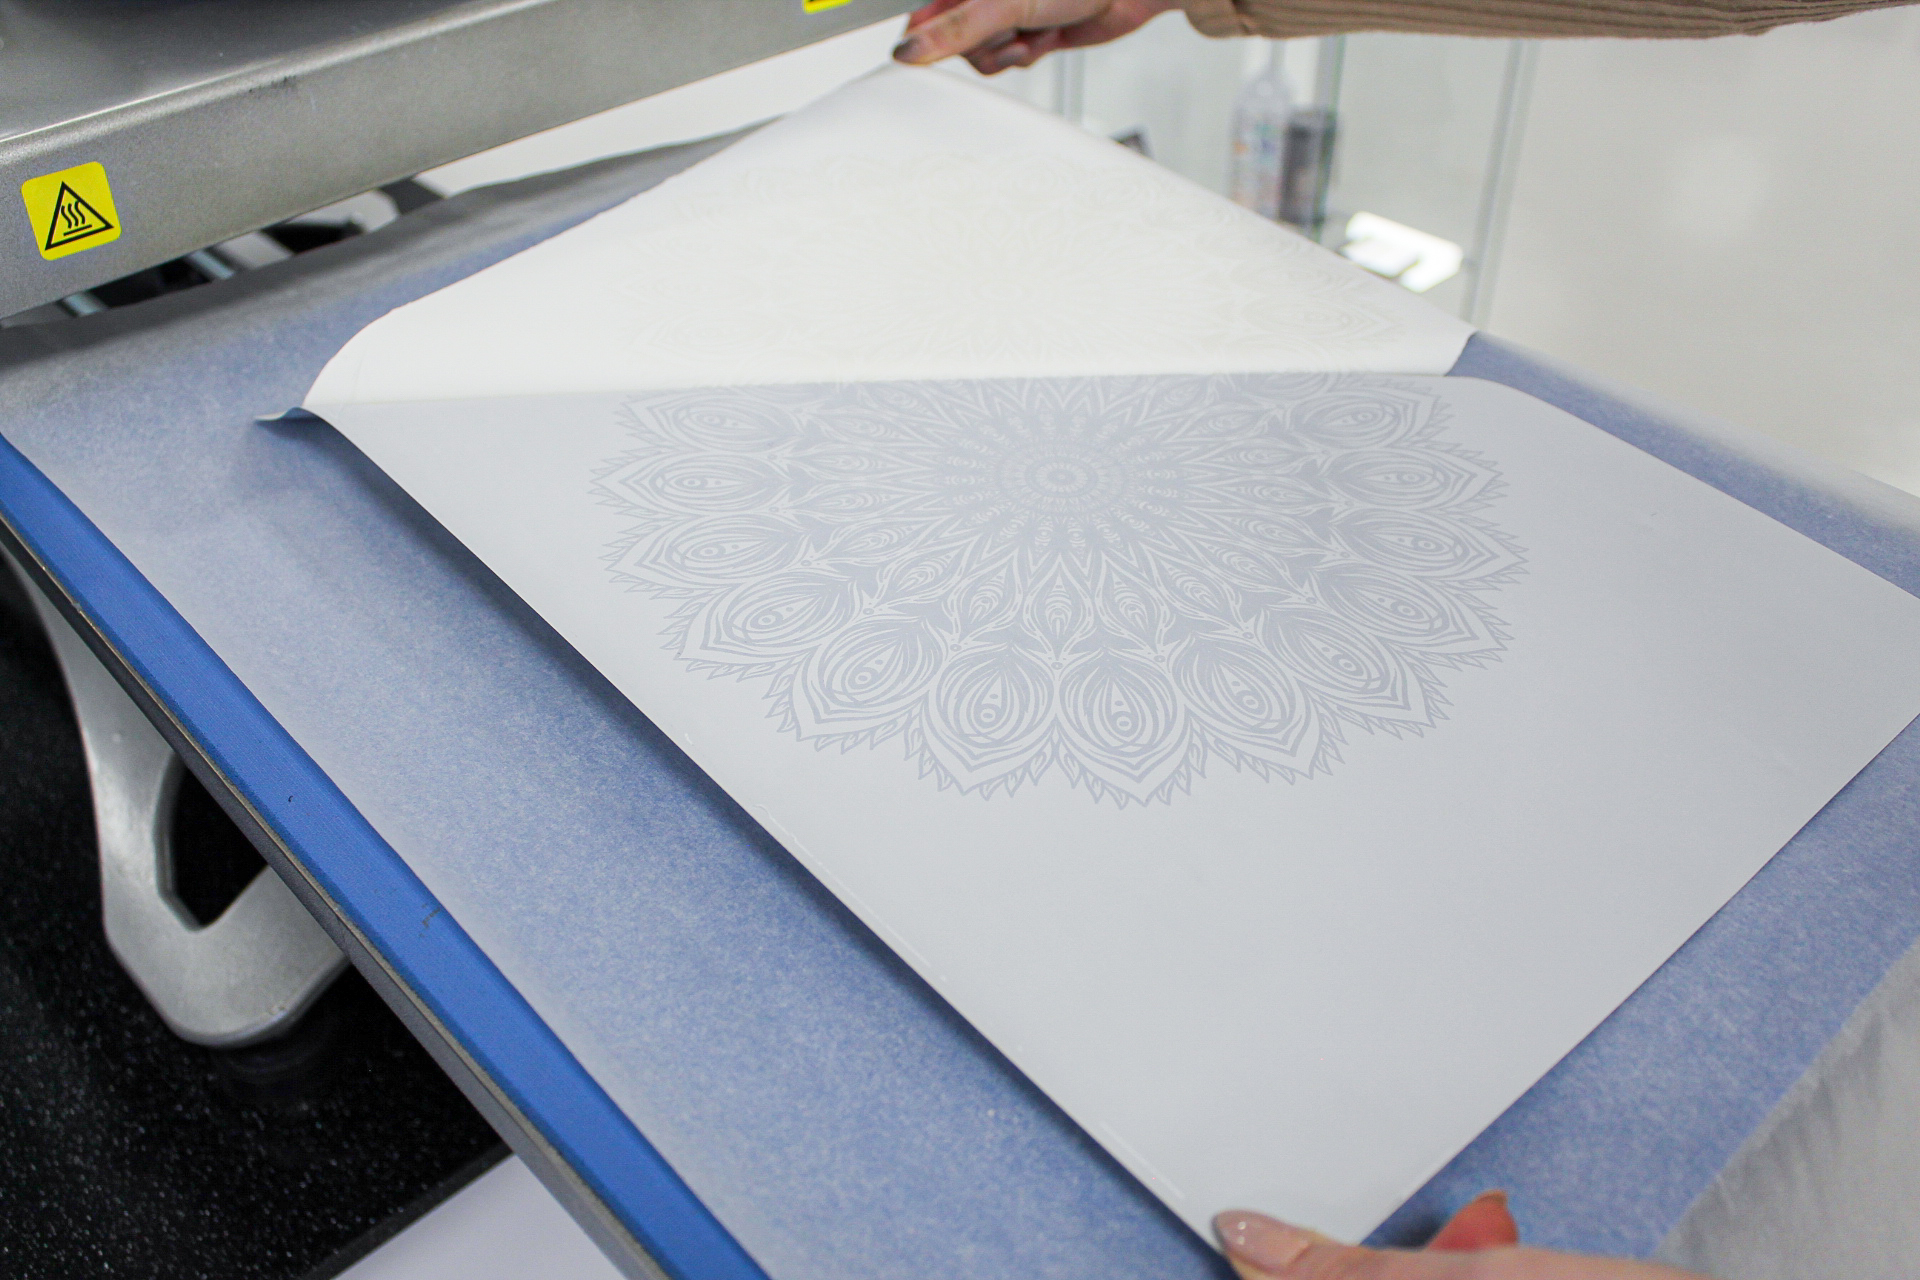
(3) After two minutes, peel the B-Paper away from the Flex Soft A-Foil and trim around the edge of the design. You now have a no-weed metallic heat transfer ready to apply to your garment.
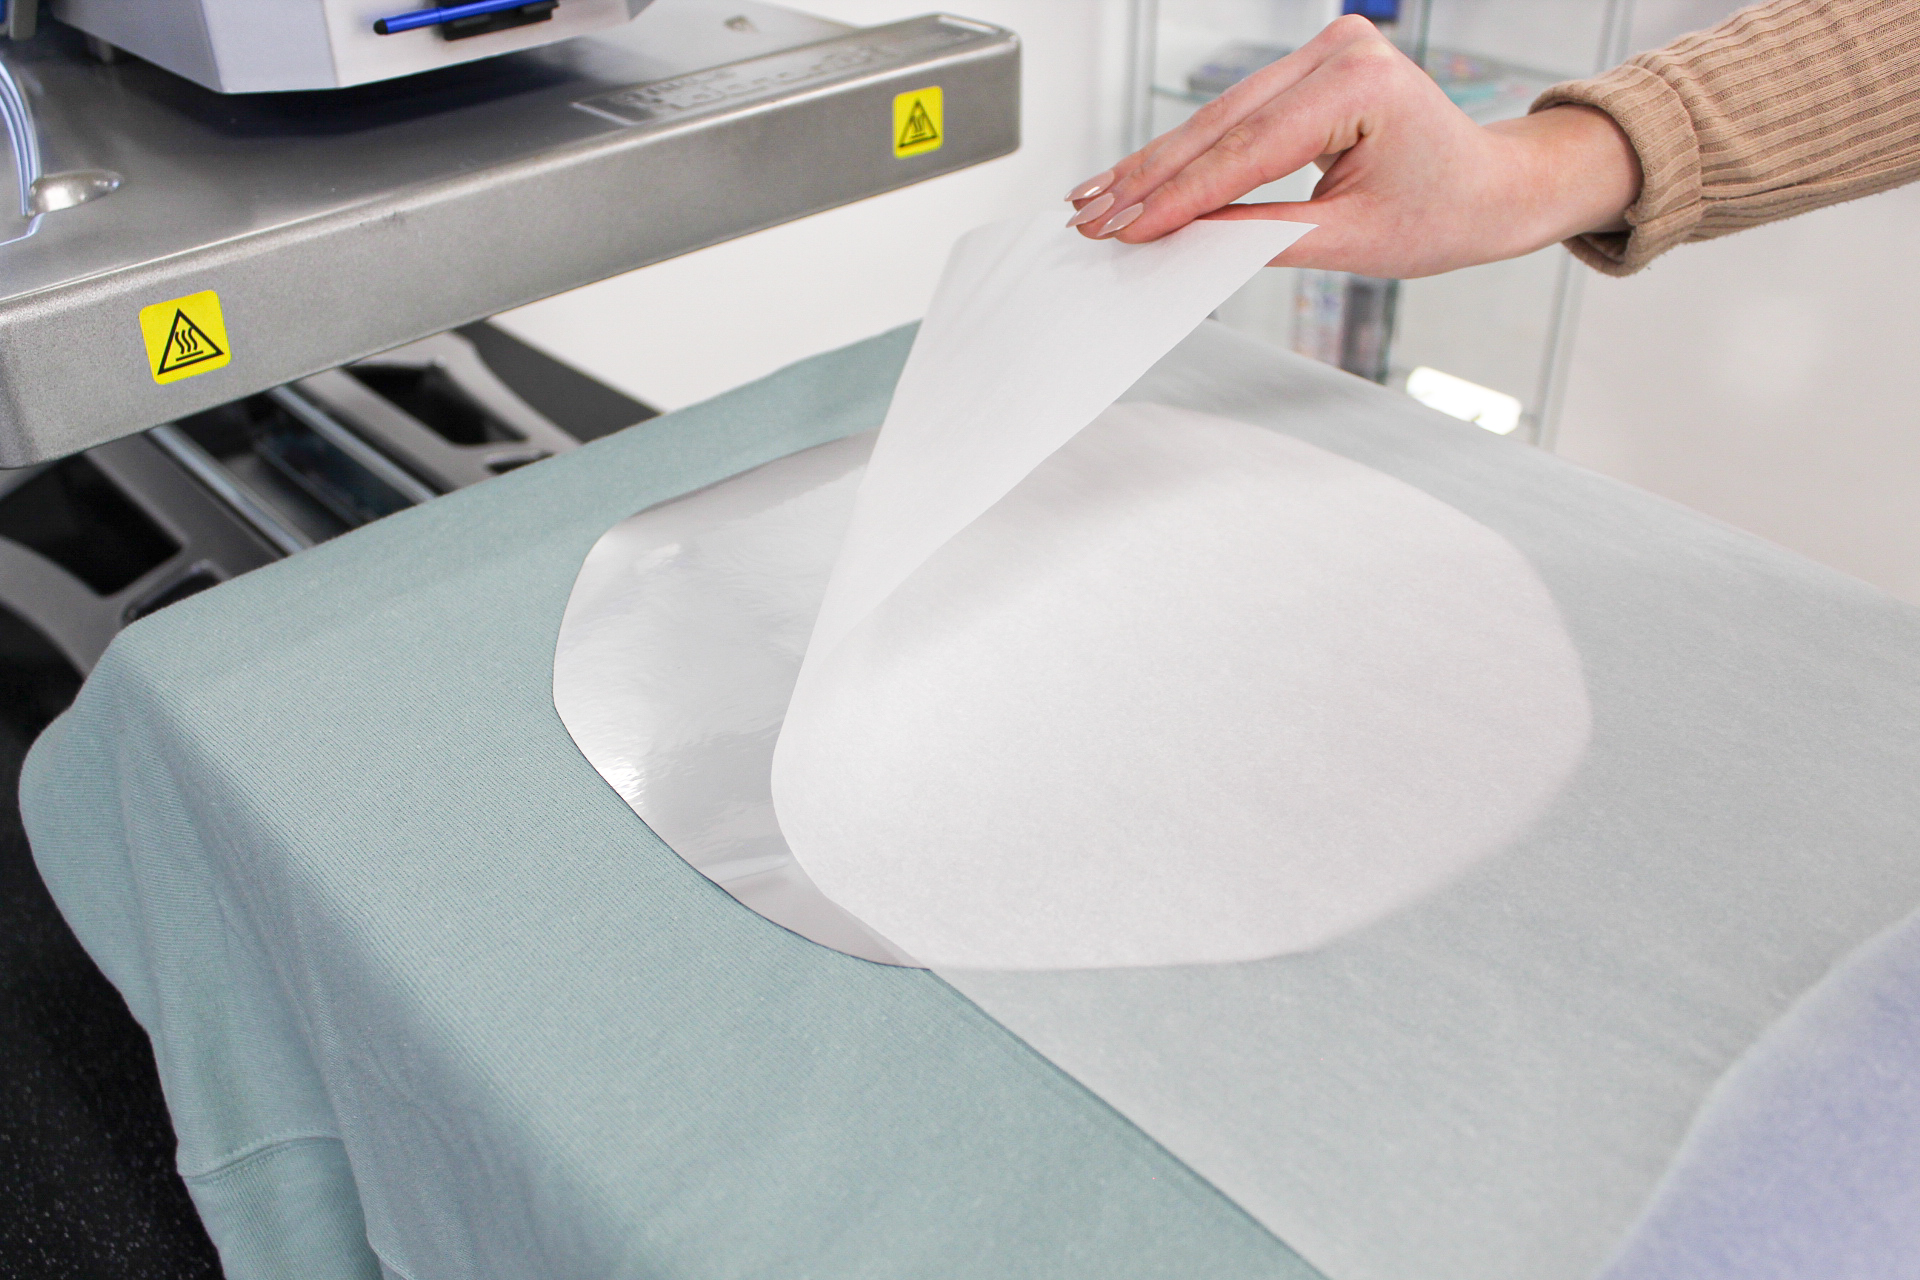
(4) Press the transfer to the garment at 135°C for 30 seconds.
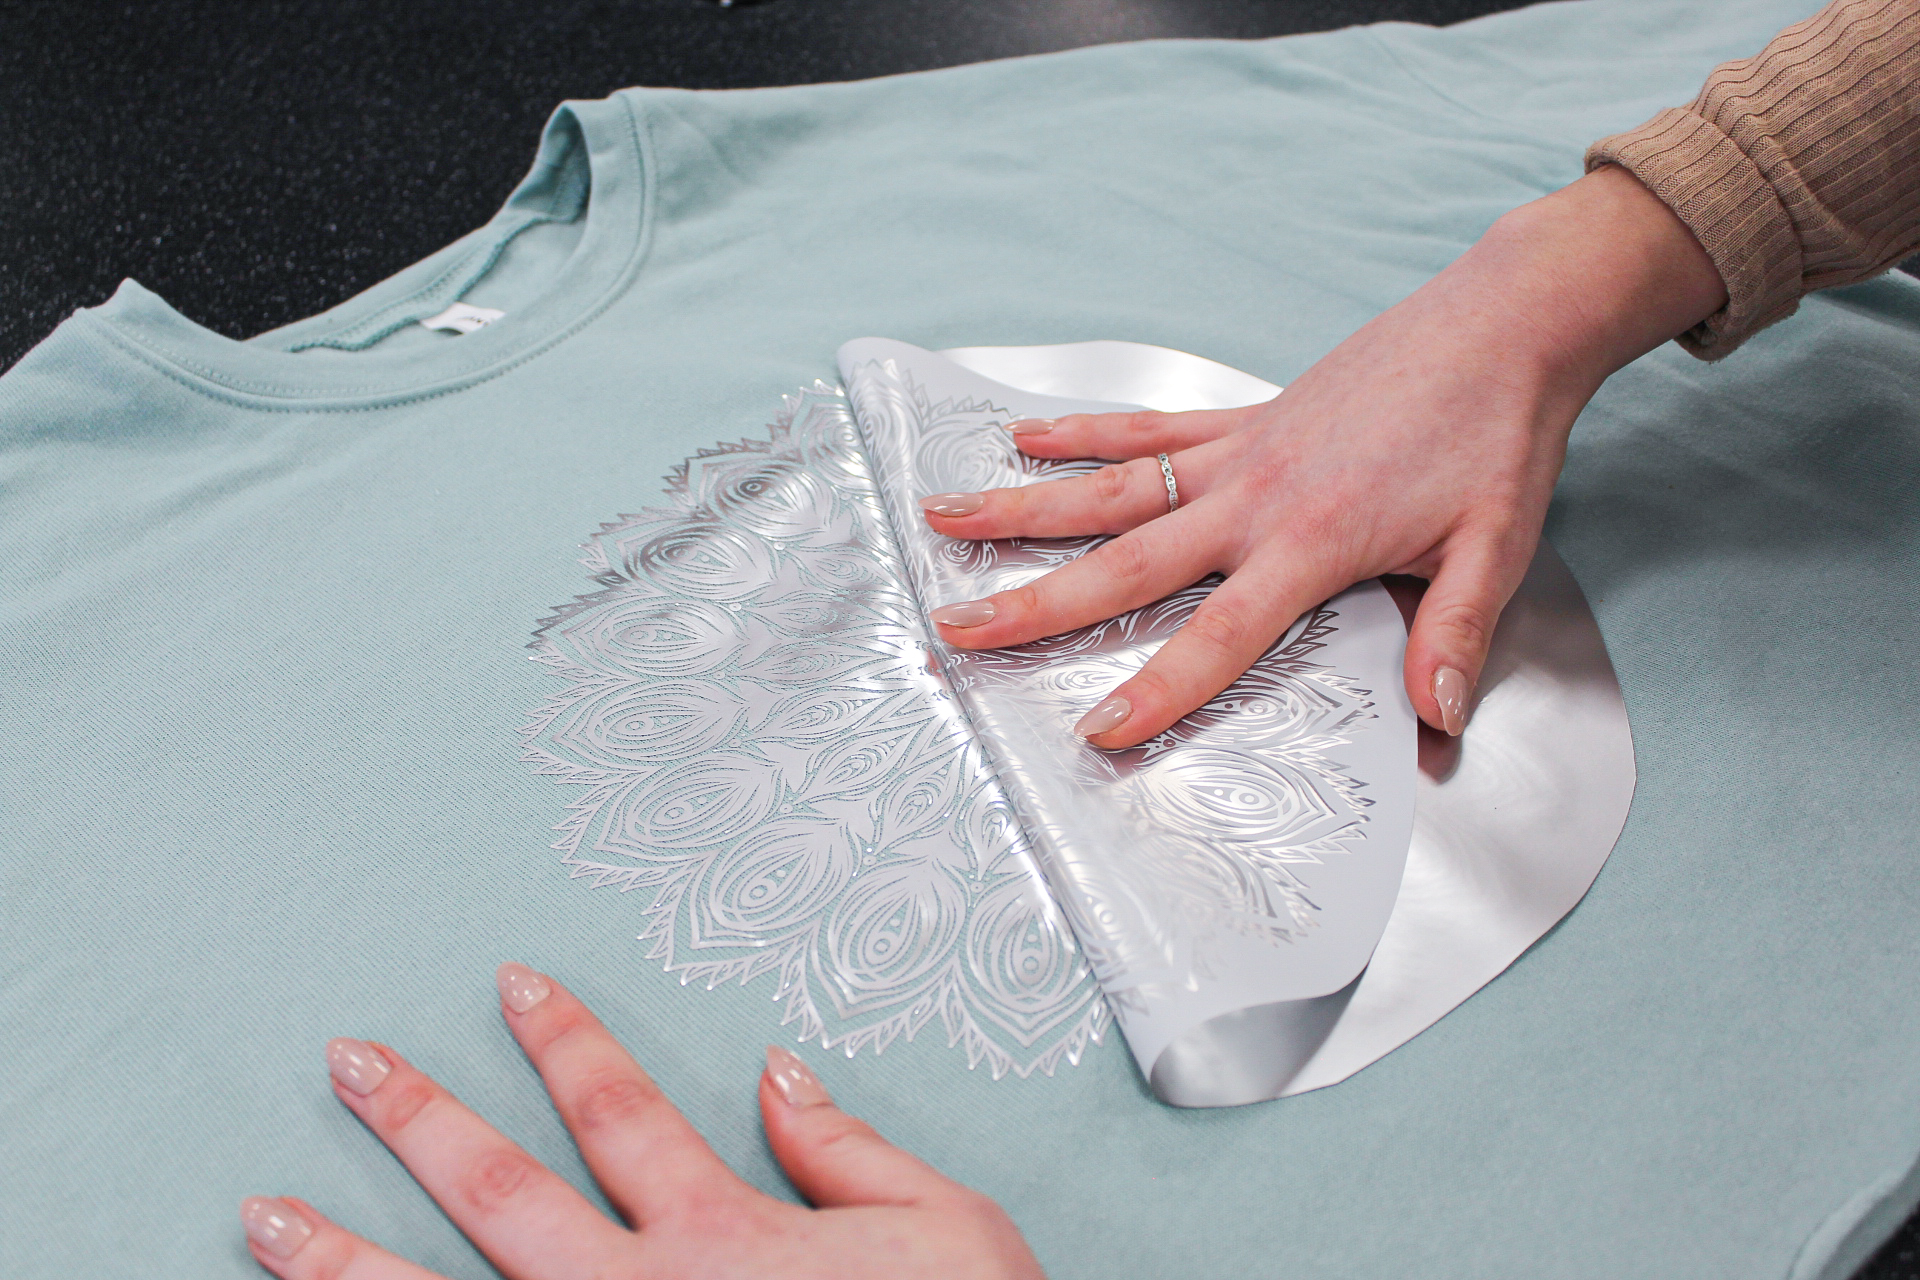
(5) Cold peel the transfer, and re-press for 30 seconds to give durability.
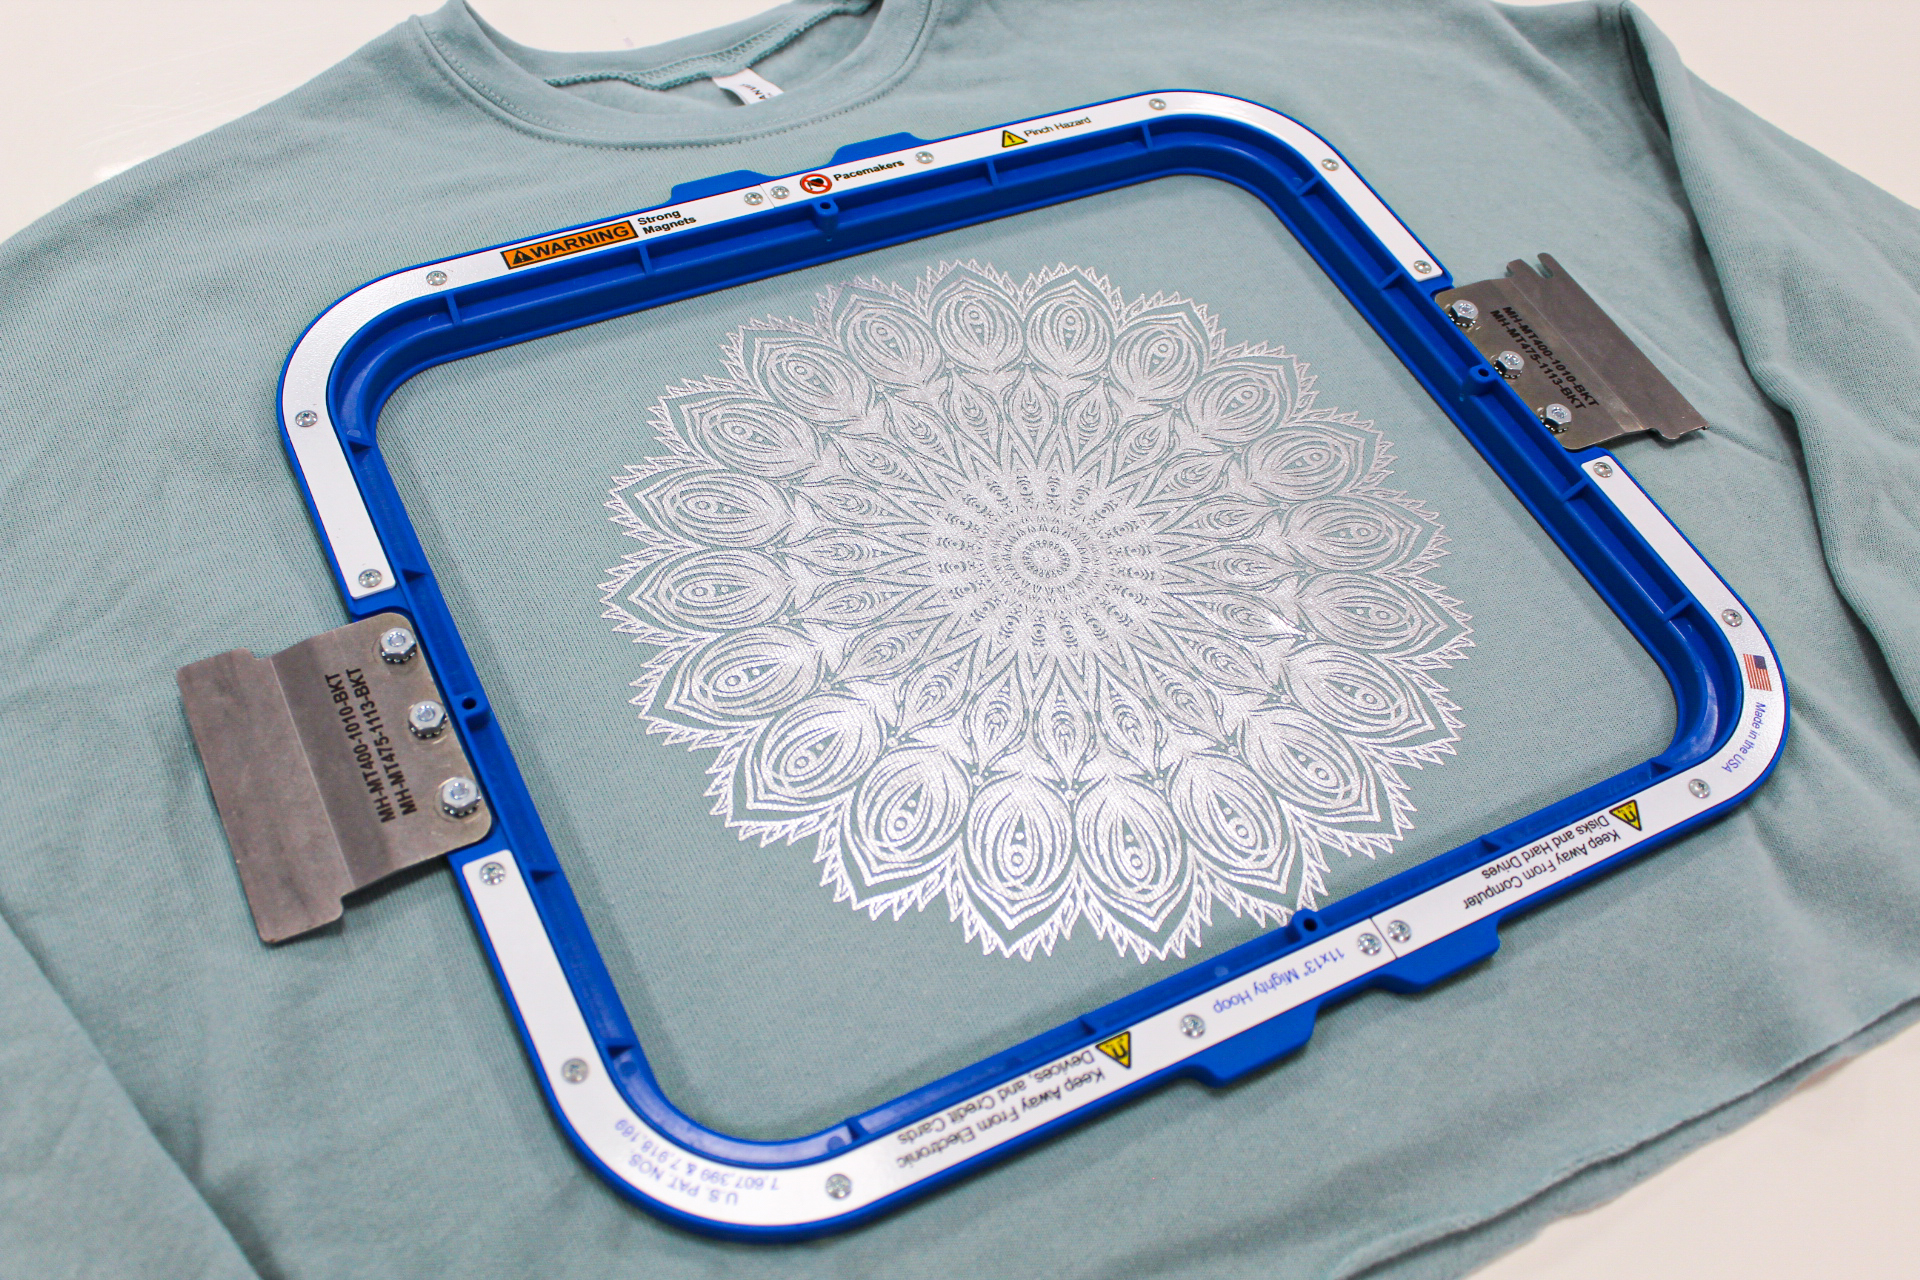
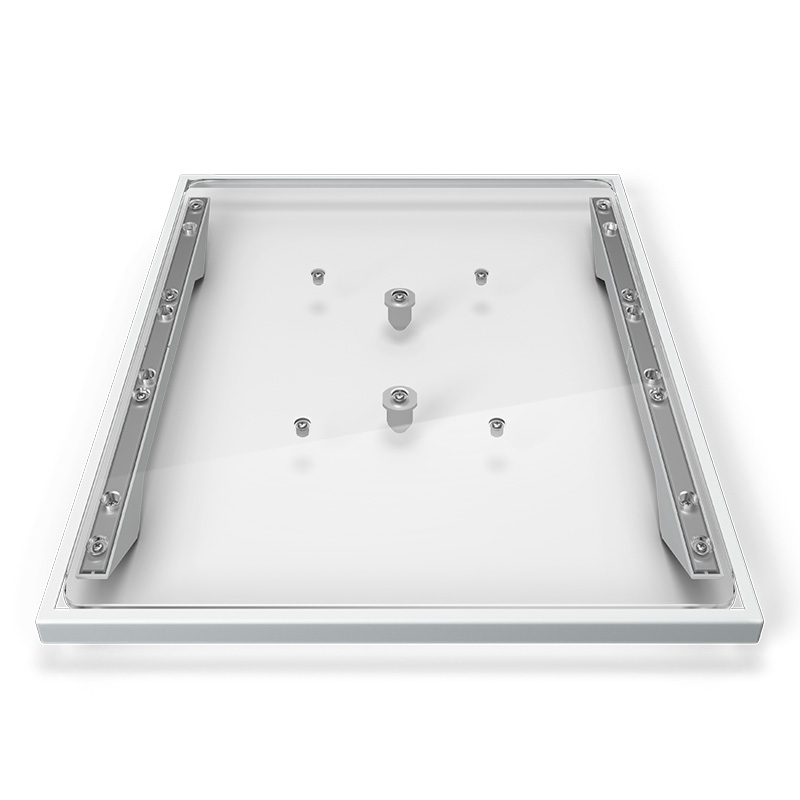
(6) Hoop the garment ready for embroidery. We used the 11″x13″ magnetic Mighty Hoop, which makes hooping on thicker fabrics really easy, on the 52% cotton/48% polyester Women’s Cropped Crew Fleece from Bella+Canvas.
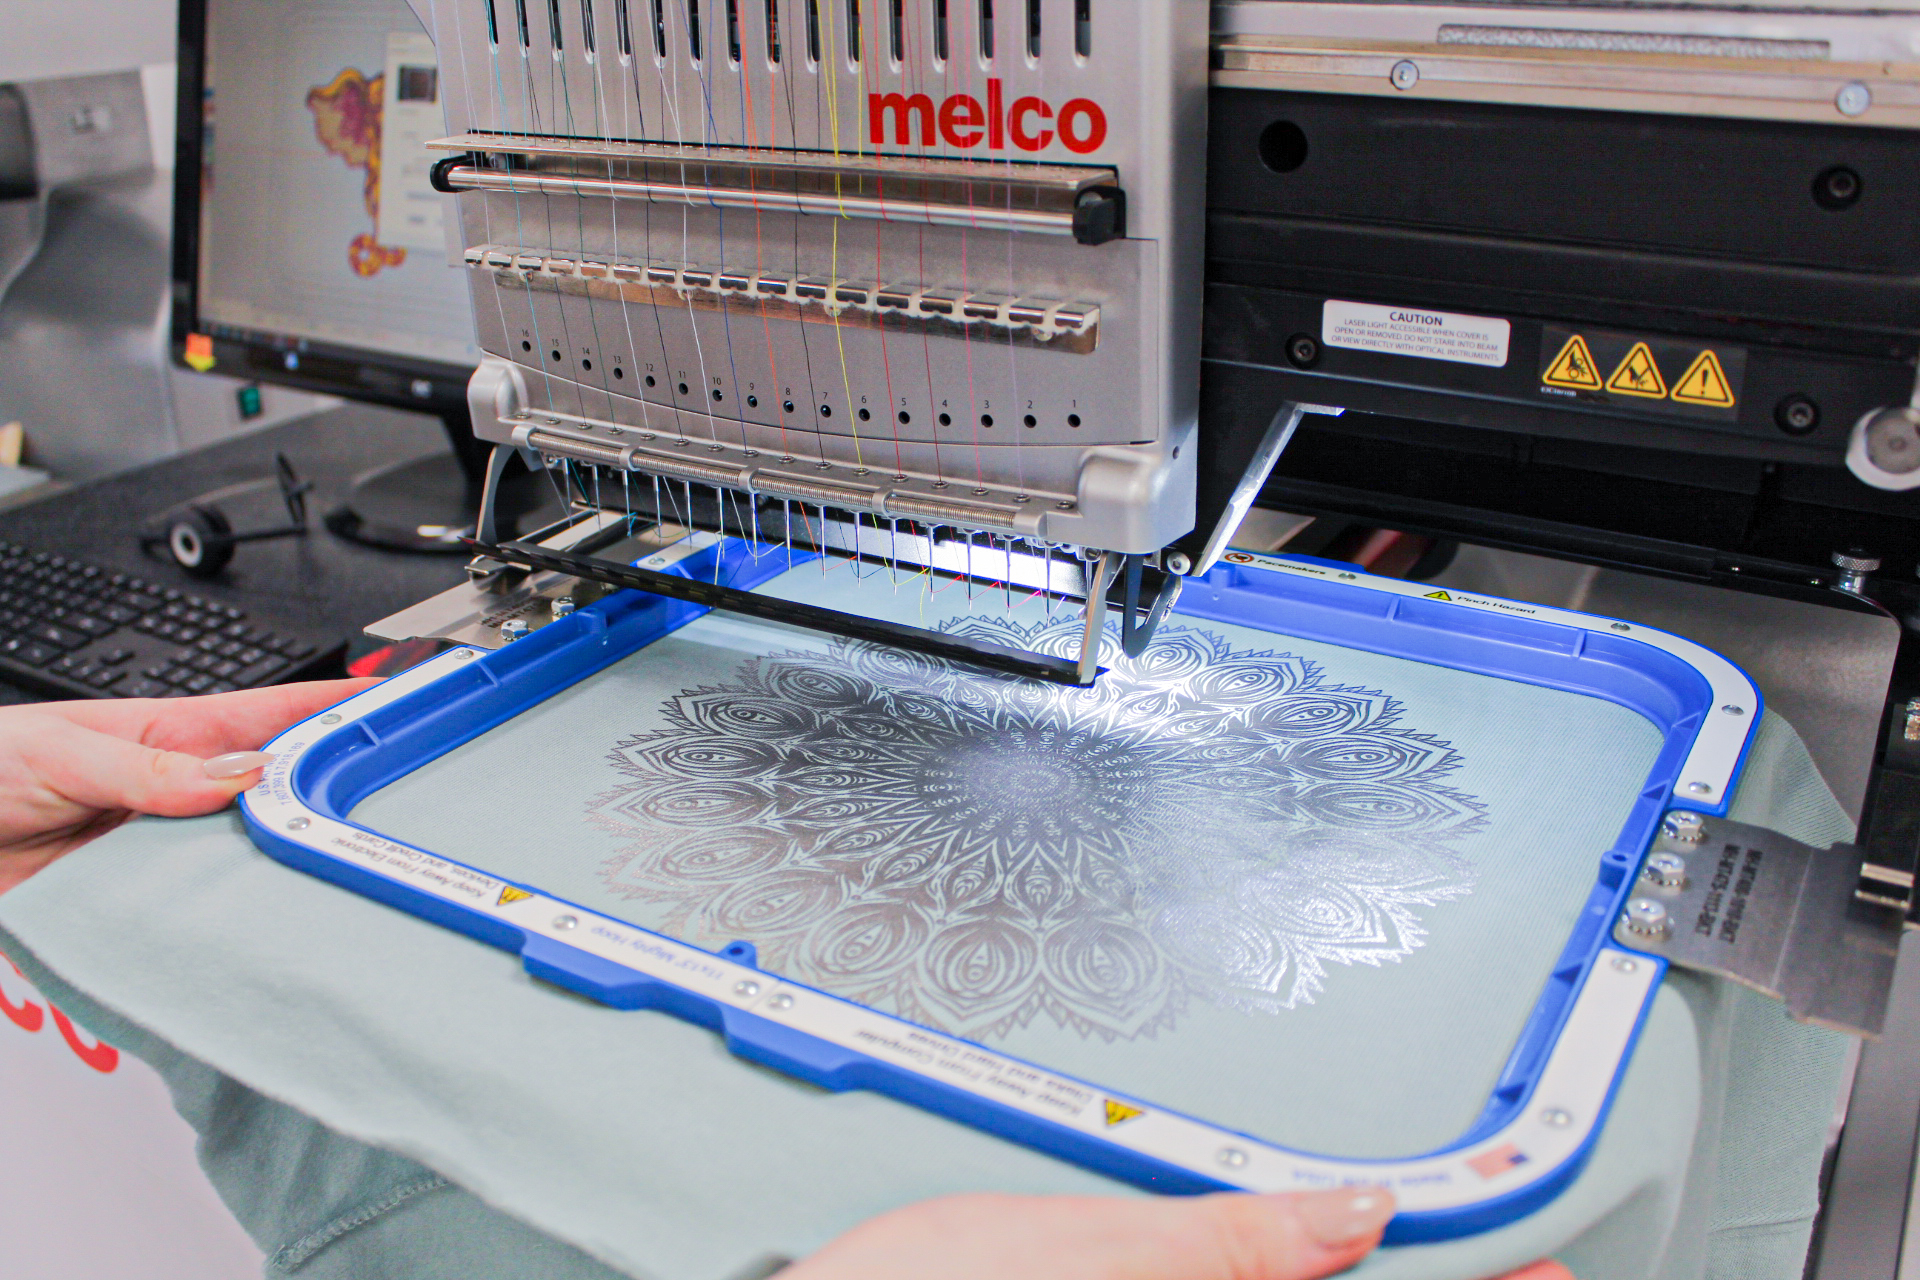
(7) Load the garment onto the embroidery machine – we used the Melco EMT16X. We also used the laser alignment tool, a feature of the Melco EMT16X, on two reference points of the print to make sure that the embroidery lined up perfectly with the printed design.
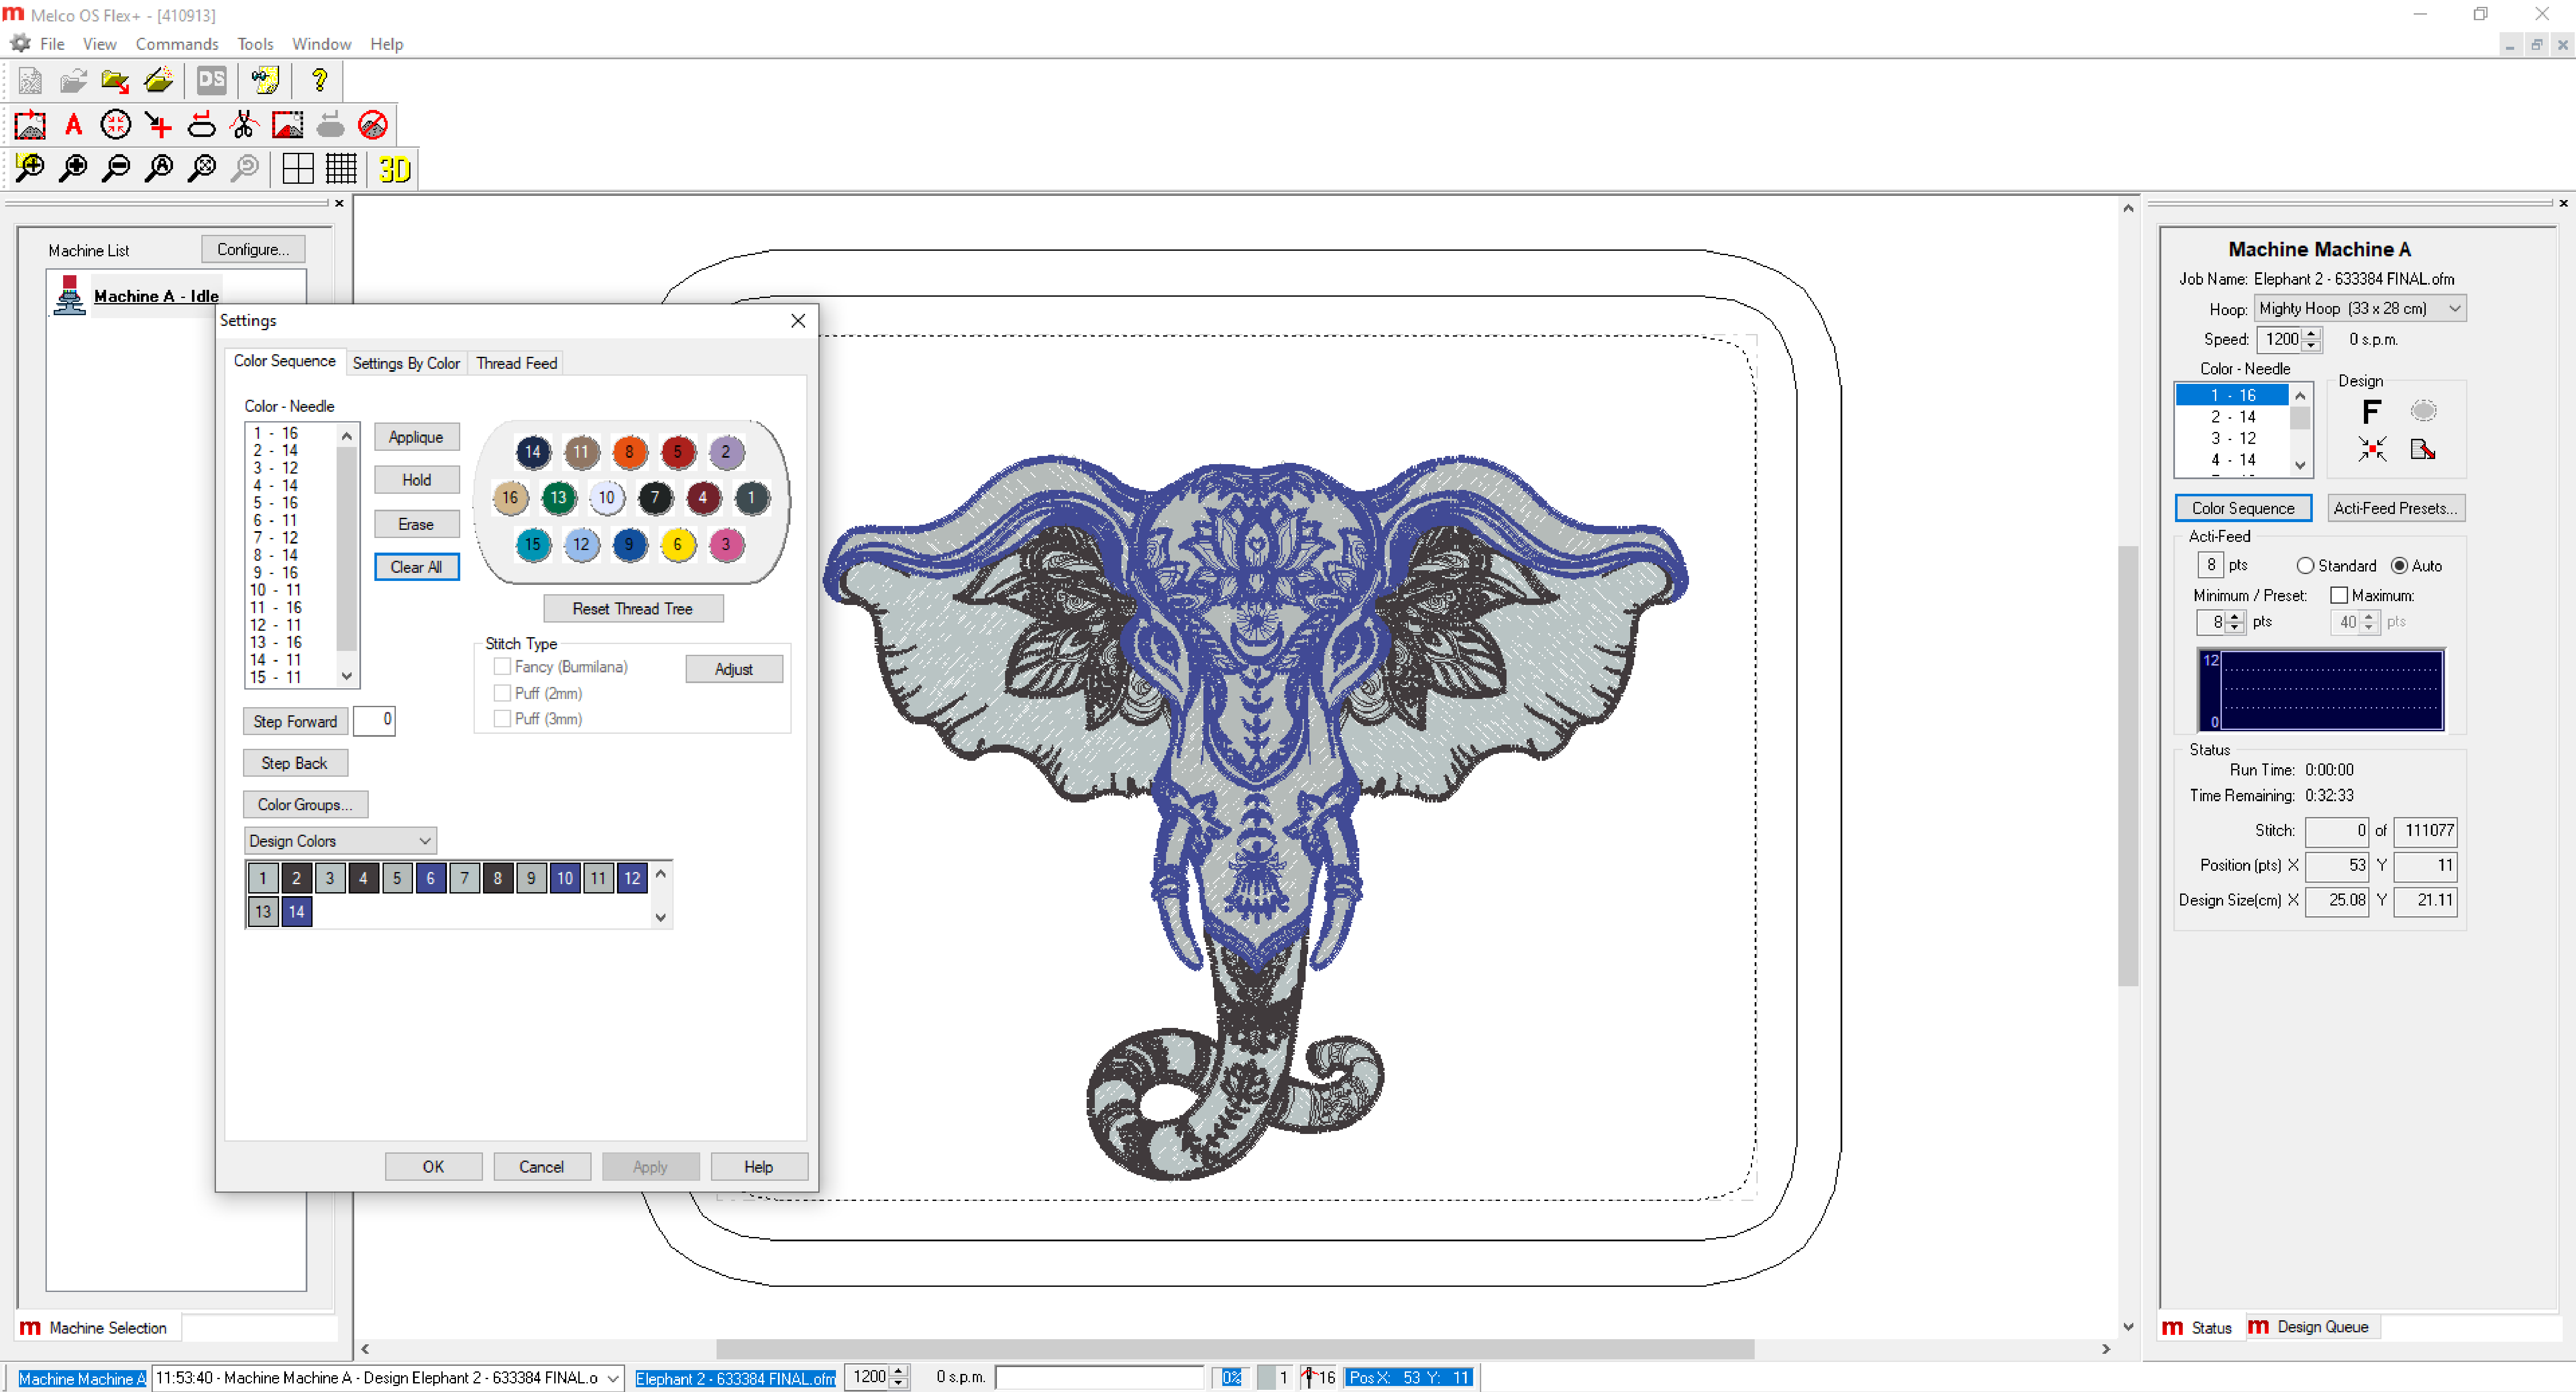
(8) Select your colours in the Melco OS Software and start to embroider.
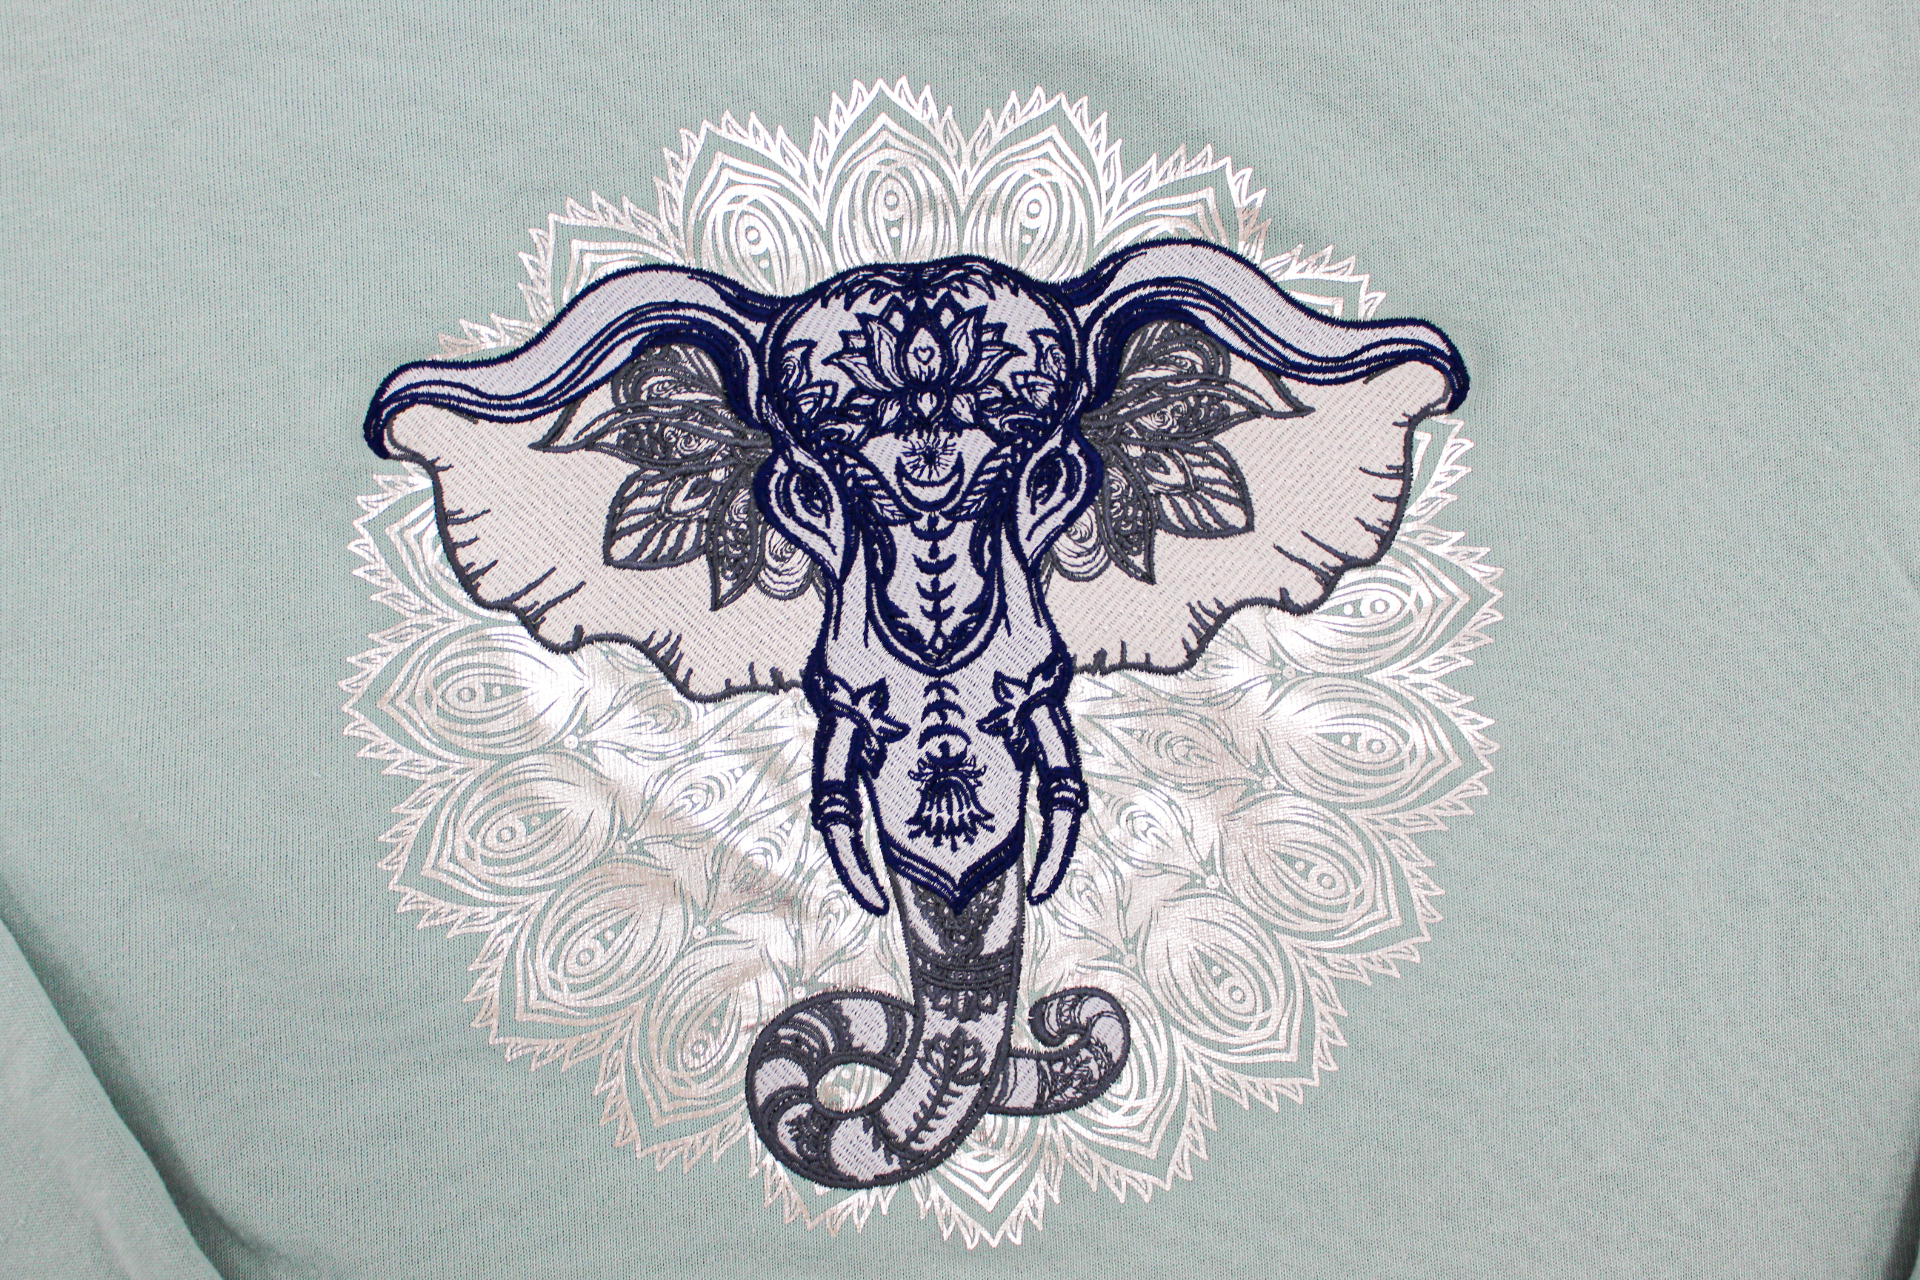
(9) The finished decoration.
Useful Links
Melco EMT16X Modular Embroidery Machine
Melco Magnetic Mighty Hoops
OKI White Toner Printers
Forever Laser Heat Transfer Papers
Stahls Heat Presses
