Upper Threading
How to Upper Thread
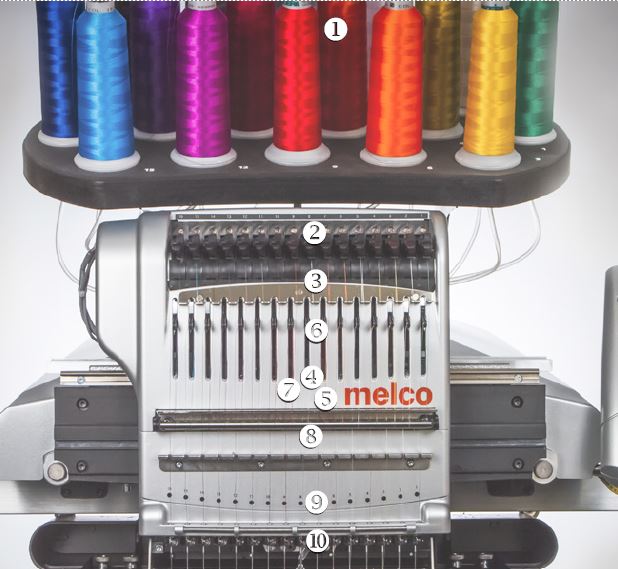
The proper thread path from the cone of thread to the eye of the needle is critical in the operation of the machine. Ensuring that the thread moves along the appropriate route will help prevent thread breaks as well as increase efficiency and sew quality. Understanding the upper threading will also help in troubleshooting. The following image displays the main components of the needle case and the upper threading system.
Video Demonstration:
Threading the machine for the first time
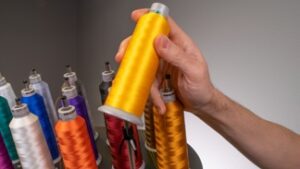
When you first receive your machine, there will be thread in the system. The tops of the thread will most likely be taped to the side of the thread tree. Remove the tape and untwist the threads. New cones of thread may now be placed on the thread tree using the quick thread change method below.
Thread Cones or Thread Spools
Smaller spools of thread often perform better when seated on a coaster. These coaster help prevent the thread from catching on the bottom of the spool when casting off.
Quick Thread Change
Changing a cone of thread does not require rethreading the entire thread path. If thread is already in the system, the fastest and easiest way to change a cone of thread is to remove the old cone but leave a good length of the old thread on the machine.
- 1. Place the new cone of thread on the thread tree with the old thread end sticking
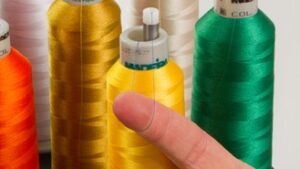
out of the thread tube and over the new cone. - 2. . Extend the thread tube ½ to 1 inch above the cone. Neglecting to extend the thread tube ½ to 1 inch above the cone could result in frequent thread breaks.
- 3. After placing the cone of thread on the machine, the old thread will be trapped on the inside and underneath the cone. From near the tube, pull the thread free and over the top of the new cone.
- 4. Tie the end of the old thread to the end of new thread using a square knot.
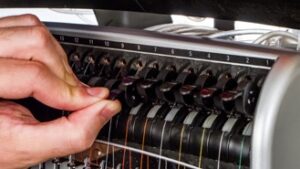
- 5. Lift the pinch roller and carefully pull the thread from the back of the needle. This will pull the new thread completely through the system. If the knot is tight and small enough, it will even slip through the eye of the needle.
a. To place the handle, align the angled edge to the t-channel in the leg of the machine base.
b. Rock forward and lift slightly up on the handle to rotate it into place
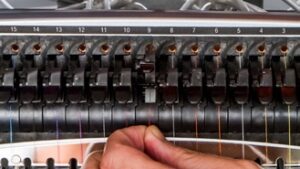
- 6. When finished, line up the thread under the pinch roller and press the pinch roller back down.
- 7. If desired, the thread can then be held by the retaining spring in front of the lower thread guide or held in place using the grabber. With your hands out of the way, press the adjustment and center keys on the keypad simultaneously to close the grabber and move the thread into the holder behind the needles.
- 9. Press the keys again to open the grabber.
