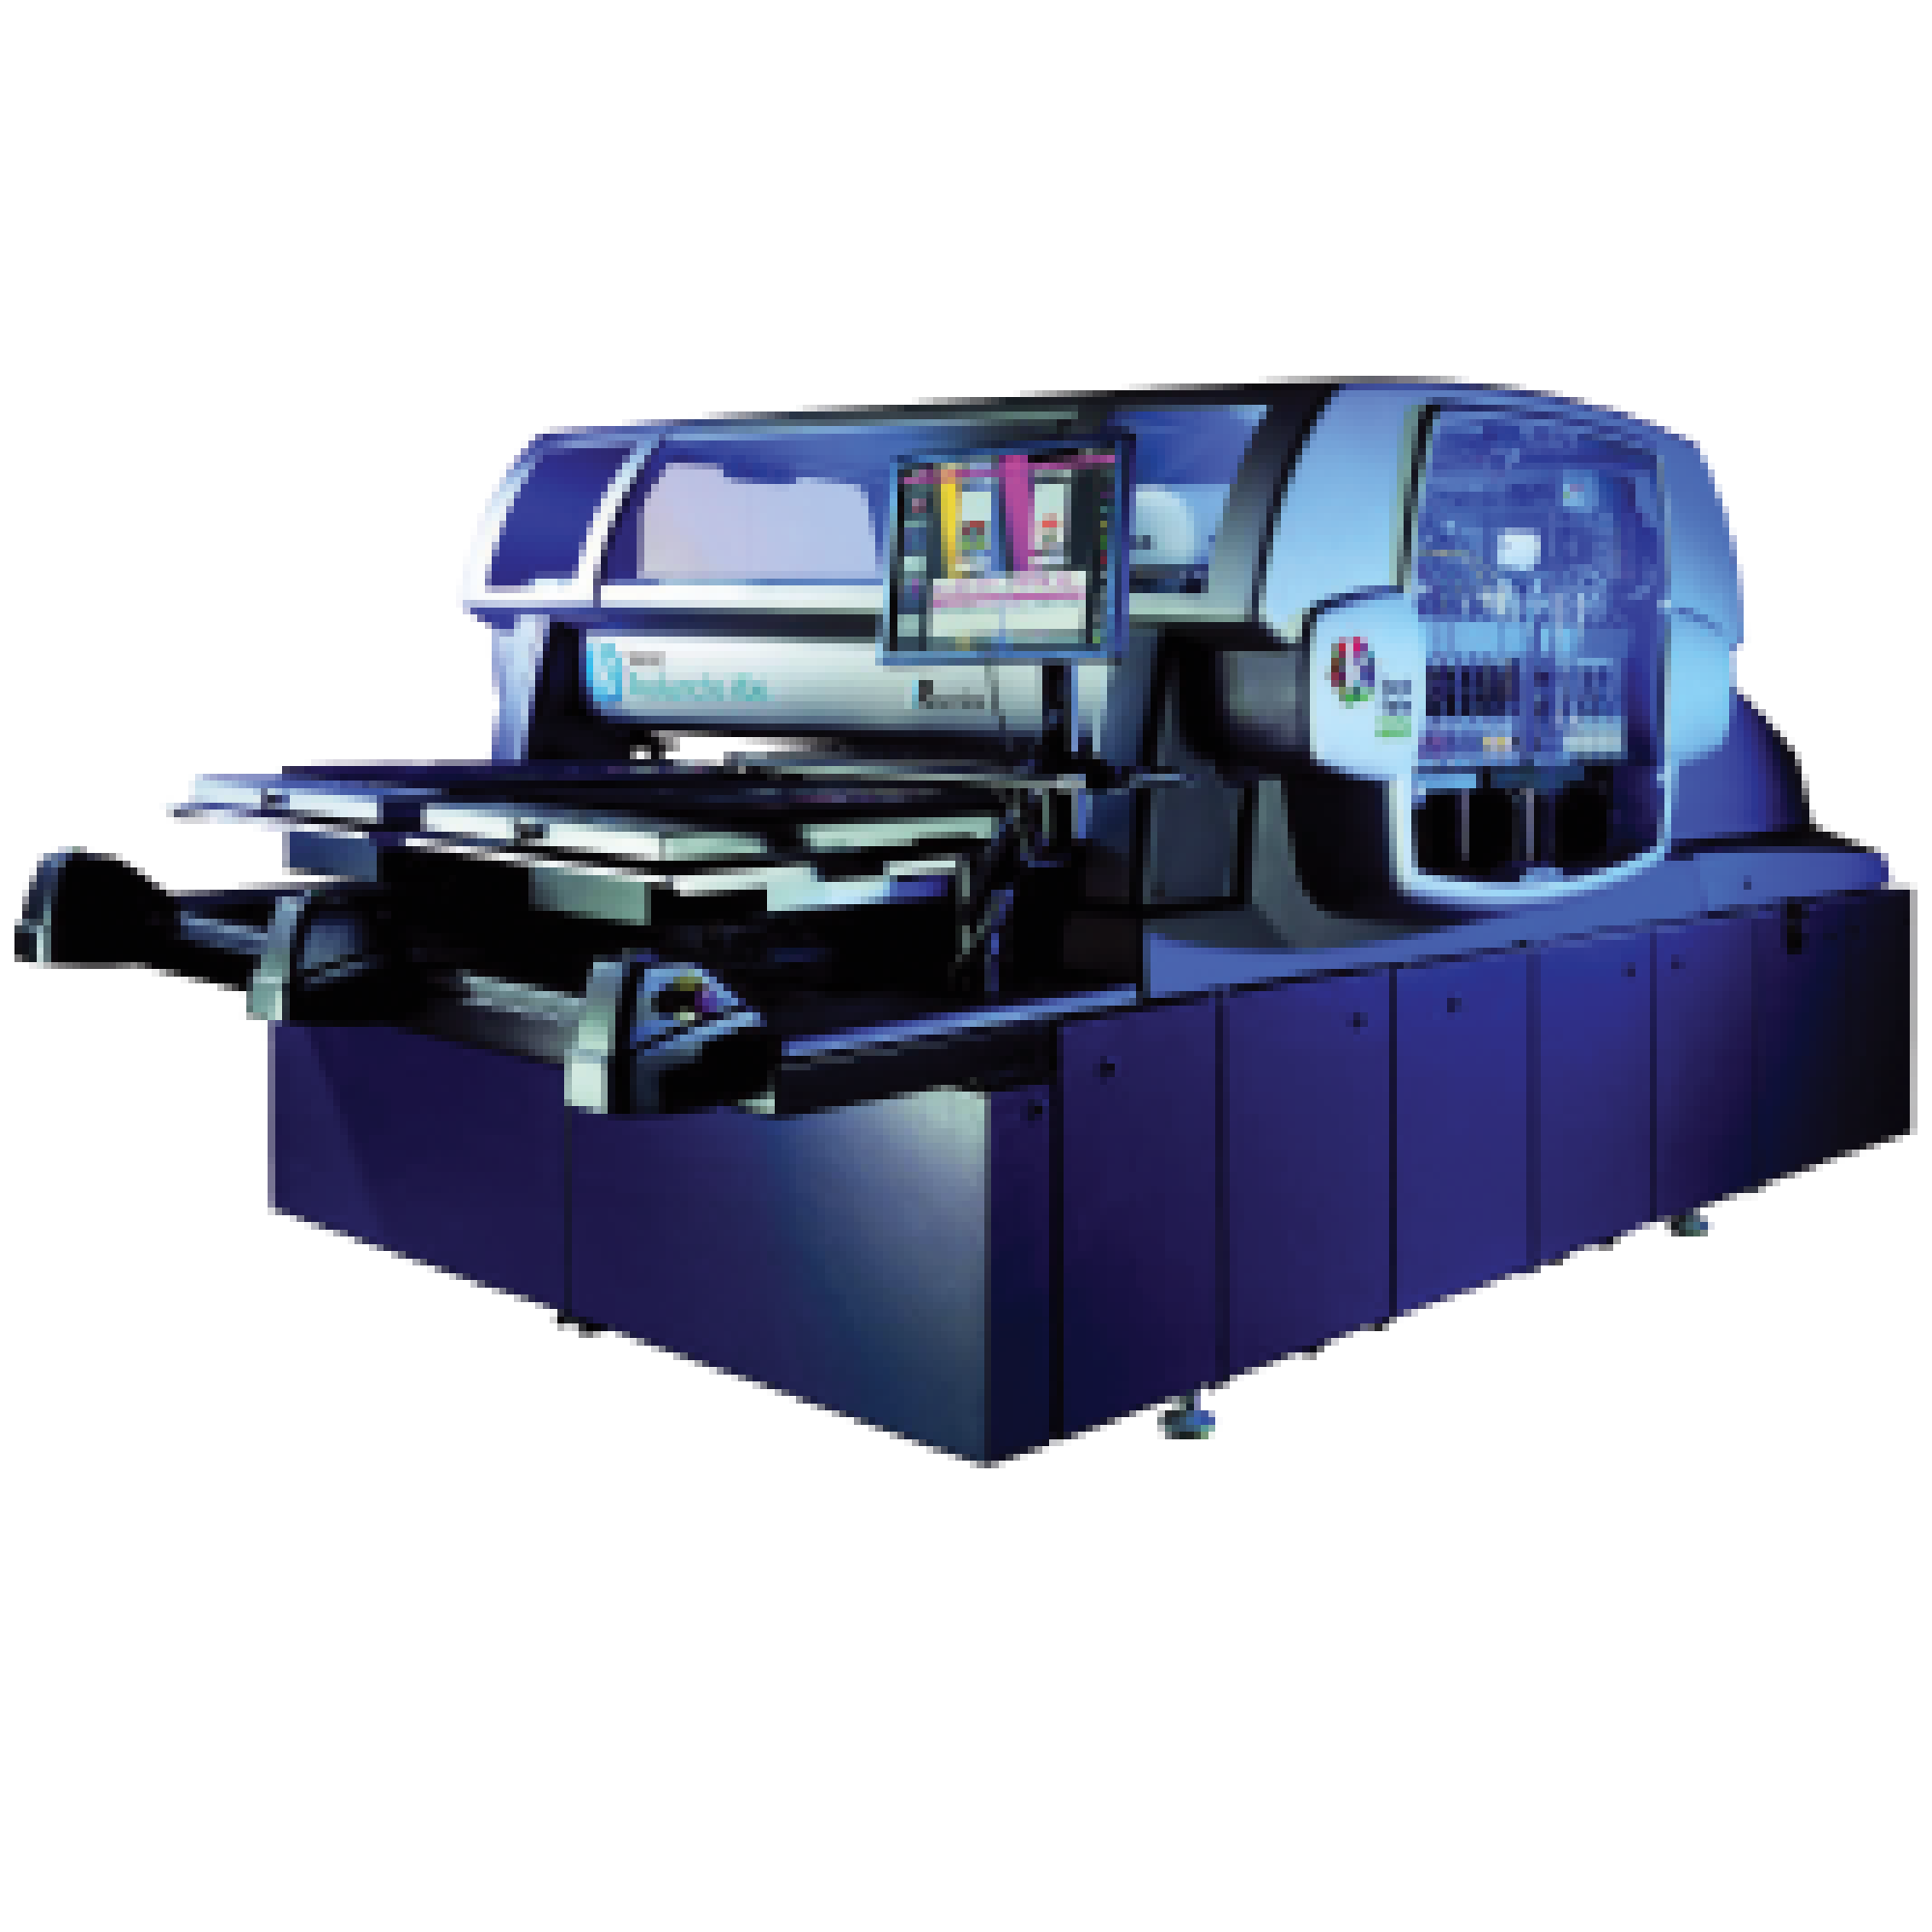
Shortee2 Auto Height Adjustment Feature
Auto Height Adjustment Feature & Why it is Important
How to utilize successfully the auto height adjustment feature on the TexJet Shortee2, along with the proper garment placement. A step-by-step guide of the procedure, highlighting its importance.
One of the most important parameters when printing, is to achieve the right distance between the printhead’s bottom and the surface of the garment. This can be accomplished by pressing the “Auto” button on the platen’s control panel, after placing the fabric on the platen. The auto height adjustment feature is of great importance, as it ensures the best printing quality possible and extends the printhead’s lifetime.
Procedure
- Step 1: Move the platen to eject position by pressing the Eject button. Place the garment properly on the platen.
Tip: A right placement means that the garment has been placed perfectly on the platen and the surface is kept flat by using either the platen’s frame or garment glue. If any fluff, fiber or thread protrudes above the surface level, this will result in the wrong height adjustment.
- Step 2: Press the “Auto” button. The platen moves to a specific point, where the two height sensors are positioned. When the platen reaches the proper level, the user is alarmed with a beeping sound.
Note: If there is an obstacle during the procedure, the LED indicator of “Limit” in the platen’s control panel lights on and the platen stops. The user has to move the platen to a lower height by pressing the Down button until the red LED indicator turns off. Afterwards, the user has to press the Auto button again in order to achieve the right gap. If the indicator of “Limit” lights on again, a better/smoother garment placement is probably needed.
- Step 3: After the automatic height adjustment, the platen moves automatically back to the Eject position.
- Step 4: Press the Home button or Blue button to move the platen back inside the printer, where the printing procedure can take place.
Notes:
- During this movement, it is possible for the “Limit” indicator to light on again. Check the garment to be flat and stable on the platen’s surface. If this issue continues, no matter the adjustments you make, ask help from the local support team for a better levelling of the platen.
- If during the Auto adjustment process the user presses the Down button more than he should, in order to avoid the “Limit” indicator, the gap between the printhead and the garment will exceed the proper distance and the print result will not be accurate.
Tip: If you print above uneven surfaces opt for Uni-Directional printing to achieve better quality.
